In my line of work, I often work with a fair amount of non-technical folks who have absolutely no experience with Git. This is absolutely wonderful, I love teaching new people the joy of version control. But it often feels like there are no resources out there specifically written to help teach non-technical folks how to get Git set up in as little time as possible. So, as part of our effort to democratise knowledge, I’ll be writing this guide to Git Basics.
In this first part, I’ll be teaching you where to get a free Git client, how to integrate with the most common Git providers, and how to clone your first repository. And even more importantly, I’ll be teaching you what all of that means!
This series will be very light on jargon, and will only teach you the git basics, although I’ll link other resources if you want to dive deeper. So – if you’re already experienced with Git, I’m sure there will be things that you’re baffled that I don’t think are immediately necessary – but that’s the whole point.
Often learning a completely new system, especially as somebody non-technical, can be incredibly overwhelming. So I will only be going into concepts when they are immediately necessary, everything else can wait.
With that preamble out of the way, let’s start with the first question. What is Git?
What is Git?

Before we dive into Git, we should discuss the concept of Version Control in general. Version Control is a concept describing the tracking of work done by developers. When developing complex games or software, there are often a lot of developers working in different areas, all creating and modifying things, sometimes overlapping. This can be incredibly complex, so instead of uploading your entire project to Google Drive or passing around an old USB, we use Version Control.
Version Control systems operate in different ways, but the basic premise is the same. Allow teams of multiple developers to all work on the same project with as little stress or conflict as possible. Git is one such Version Control system.
The basic principle of Git is tracking changes in little bundles called Commits. Each Commit will contain information about which files have changed, and what has been done to those files to change them. By going through these Commits, you can see the way a project (or Repository) has changed from its inception all the way up until the most recent change.
Installing a Git Client
Originally, Git was managed through the command line, but as development has become democratised, and the command line is less and less popular, a number of Git clients have sprung up to simplify the management of Git.
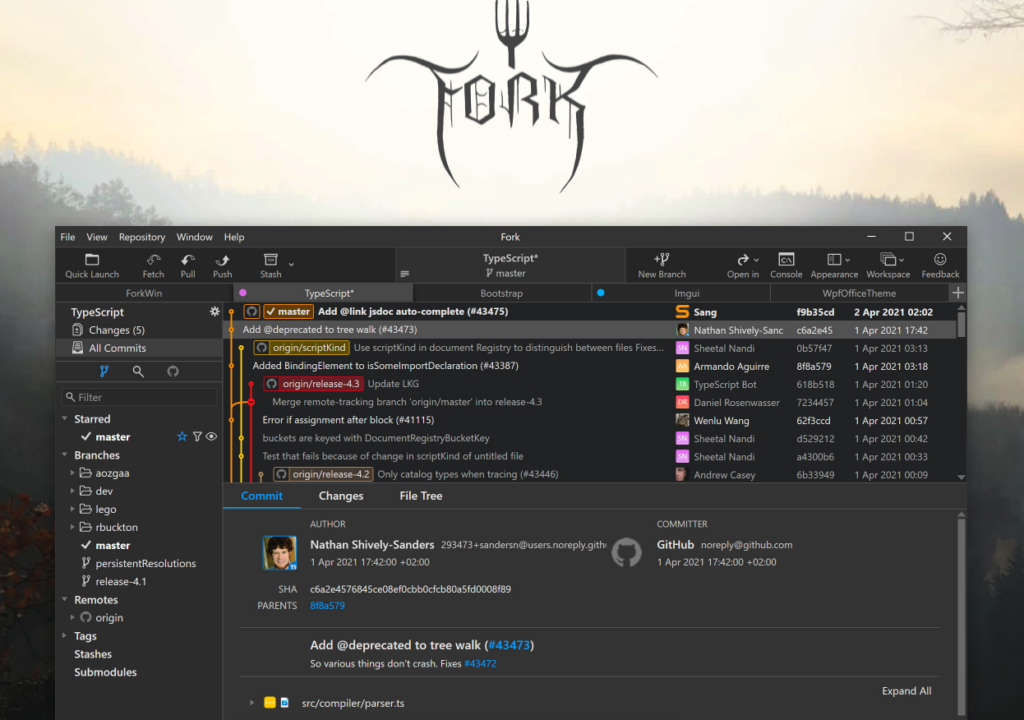
There are a number of free Git clients out there that you can use, but the one that I have found the most beginner friendly of late is Fork. It’s very easy to use, and is being actively developed by a husband and wife team, which is delightful!
So, step one in our Git basics journey is to install Fork. If you have another Git Client that you are using, that will work too, but it’s worth noting that these instructions will be Fork-focused, so you may need to translate some parts.
The next part of the instructions will change slightly based on the Git host that your team uses. So, which Git host are you using?
- We’re using GitHub
- We’re using GitLab
- We’re using BitBucket
- We’re using something else (email me and I’ll happily help you get set up!)

Pingback: Git Basics 3 - Git Operations 101 | No Moss Studios
Pingback: Tools We Use to Make Games | No Moss Studios
Pingback: Tools We Use to Make Games | Dev Blog
Pingback: Git Basics 2.1 - How to Get Connected to GitLab | Dev Blog
Pingback: Git Basics 2.3 - How to Get Connected to Bitbucket | Dev Blog
Pingback: Git Basics 3 - Git Operations 101 | Dev Blog