Using Bitbucket, are you? A solid choice – it’s got some nice integrations with task tracking like Jira, and all kinds of other things to streamline your workflow. So, lets go through how to connect Bitbucket into your newly installed copy of Fork.
If you have no idea what I’m talking about – it’s probably best to start with the previous part of this series.
Getting your Personal Access Token
To integrate Bitbucket with Fork, there are two options. You can use OAuth (effectively logging in with your Bitbucket account), or you can use a Personal Access Token. I’ve tried using OAuth, but in my experience, it expires every few days, which means if you want to use it, expect to have to re-authenticate your account in Fork every so often – a bit of a chore.
For a more permanent implementation, while still being relatively simple, we’ll be going with the Personal Access Token strategy. A Personal Access token is a unique key that you generate that you associate with Fork. It will then use this key to tell Bitbucket that you are who you say you are, and that you should have access to all your repositories.
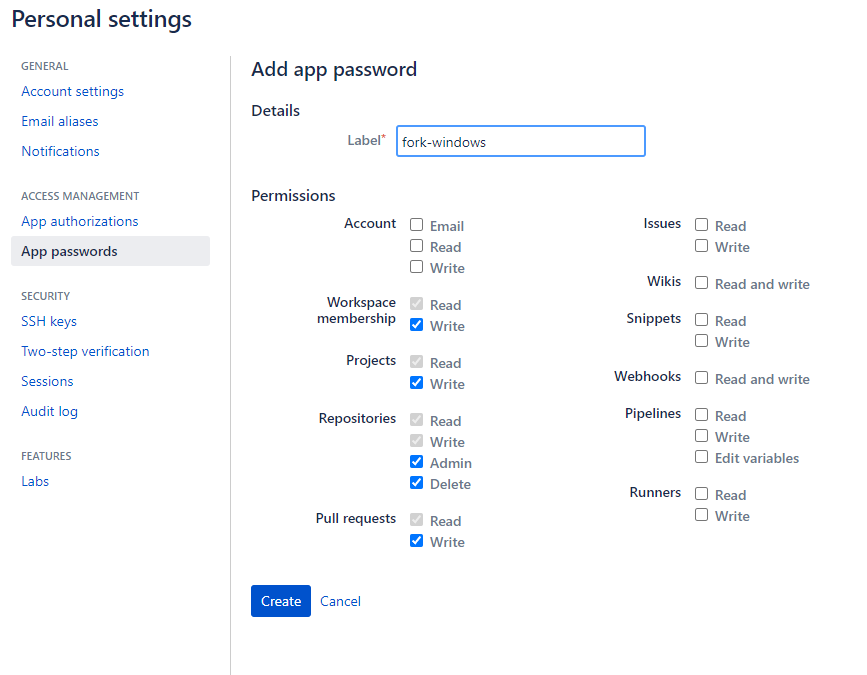
To create a Personal Access Token, you can go to this page and click Create App Password. Give your token a name (e.g. ‘Fork-Windows’), and select all the things you want to be able to do with Fork. By default, I would advise you start with Read/Write for Projects, Repositories and Pull Requests, but if you’re unsure you can just give it access to everything and strip it back later once you’ve explored Fork a bit more.
When you create your token, make sure you copy it, because once you close the window with your token, you won’t be able to get it back. If you do make a mistake, you can simply revoke your token and re-generate it.
Adding your Personal Access Token to Fork
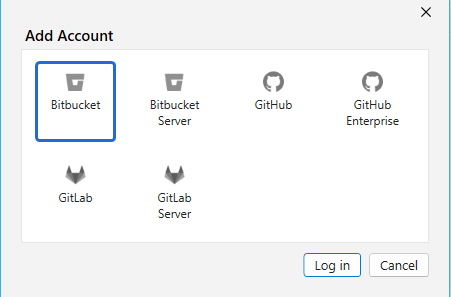
Now that you have created your Personal Access Token, you’re ready to integrate it with Fork. Head to your Accounts tab in Fork (on Mac this is under ‘Fork’ > ‘Accounts…’, and on Windows you can find it at ‘File’ > ‘Accounts…’). Once you’re on your account tab, click the ‘+’, and select ‘Bitbucket’.
On this dropdown, you want to select ‘Personal Access Token’. When prompted, enter your Bitbucket account username (you can find it here), and the Personal Access Token that you’ve copied.
And there you have it, your Fork is now connected to Bitbucket! Congratulations! Now, when you go to your accounts tab, you can see that you have your account integrated, and you can select ‘Repositories’ to see all of your repositories. Next to each repository, you can see a little ‘download’ button that will allow you to clone that repository. You can now clone repositories to your heart’s content!
Once you’ve cloned your first repository, you can continue on to the next part of this series, which will be going over some basics of how to manage your git repository!
We hope you enjoyed reading this! Have a question or want to chat more about game development? Reach out to us!
Other places you can find us:
- Our other game development resources
- Join our Discord server