It’s always exciting to unveil new versions of our game and all the new content we’ve created for it! We recently released V1.8 Sea-Monkeys®: Zen Aquarium, chock full of new games, features and content, as well as a full revamp of its UI design!
We thought to share a little bit about our process as we did a major overhaul of the game’s interface. Read on if you’d like a peek into how we revamped the game’s UI!
Step 1: Research
The first steps were to do a little bit of research on games that already exist. I recommend checking out Interface In Game or Game UI Database for examples! Beyond this, I downloaded a few games that were similar in genre, that being pet or aquarium simulators on mobile. I’d like to use this moment to shout out to the gem of a game that is Old Friends by Runaway games, a studio based in Dunedin, New Zealand! If you’d like to play with old rescue dogs and actually support real-life rescue dogs with games, check it out! Some other games I took some time to play and try out were Neko Atsume, Adorable Home, My Little Aquarium and more.
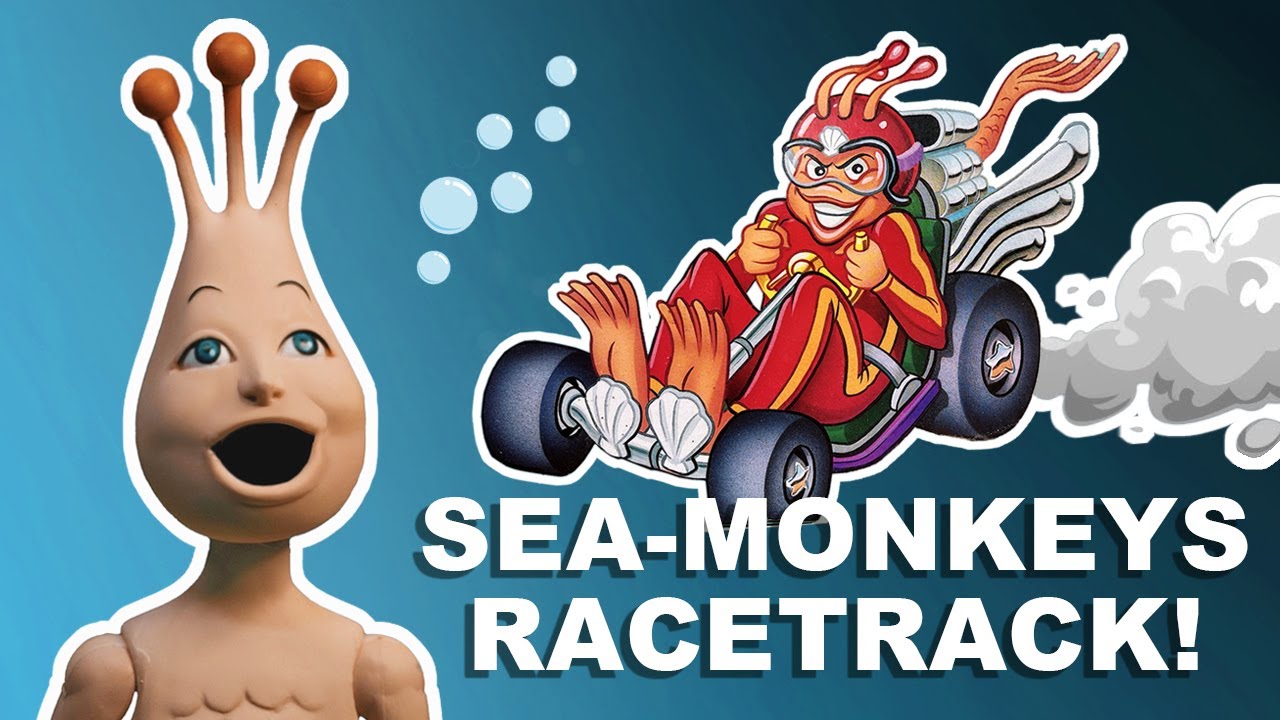
Besides that, I researched the Sea-Monkey brand’s history, aesthetic, and what exactly makes Sea-Monkeys so wonderful. The brand’s franchise is rife with charming oddities: special syringes to pick up Sea-Monkeys, special themed tanks, racetracks (Do check out Jon’s hilariously entertaining video about it), friendship lockets for sea-monkeys, and more! Throughout all this, I picked out that the main theme was that Sea-Monkeys, as plain and simple brine shrimp, could be anything to the wildest of imaginations.
With that in mind, I decided that our UI update had to be fun, cute, colourful and reference as much of the Sea-Monkey brand’s silliness and joy! Picking and choosing references to the brand I could make, I set off to set up the base game’s style, with hopes to iterate and improve on it even further in future updates.
Step 2: Initial sketches of the interface
My preliminary sketches were all done quickly on paper, starting with the new shop page as my first feel for the game’s overall style. This is because it’s one of the most complex interfaces in the entire game! These sketches were made to prompt discussion with my team about how “wild” the UI could be in the current alpha version, and were how I went on to decide the rest of the UI’s appearance.
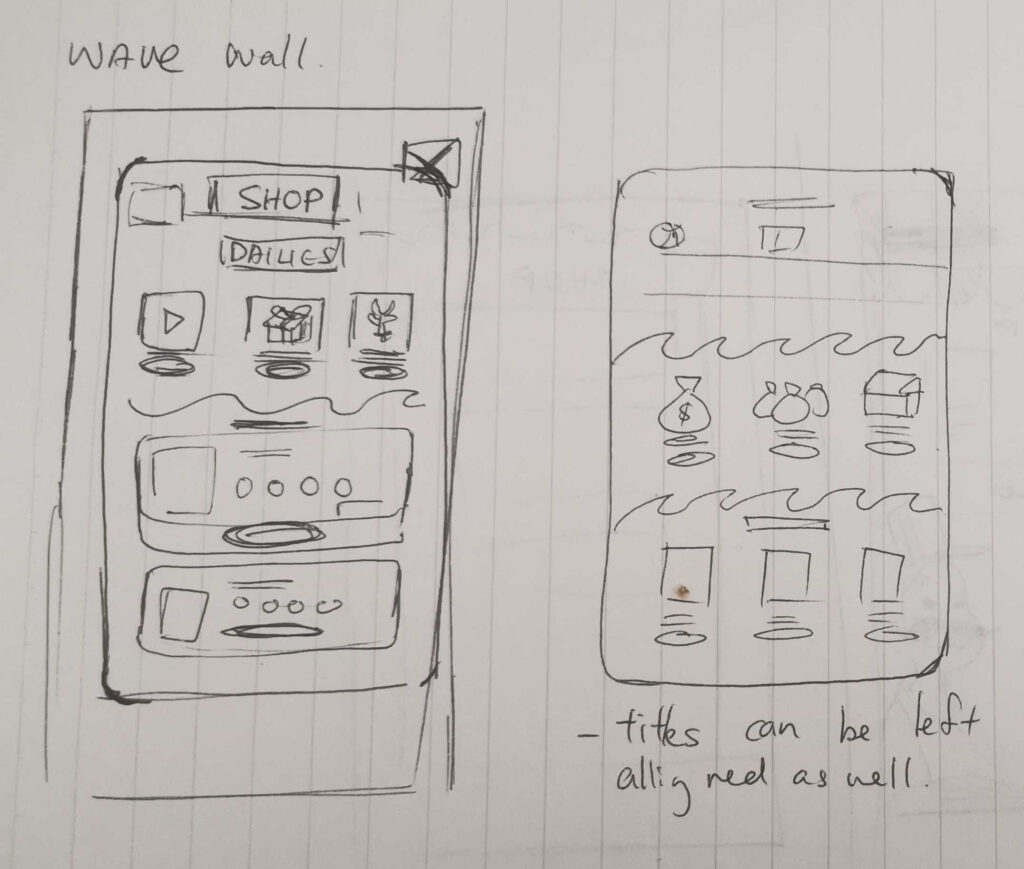
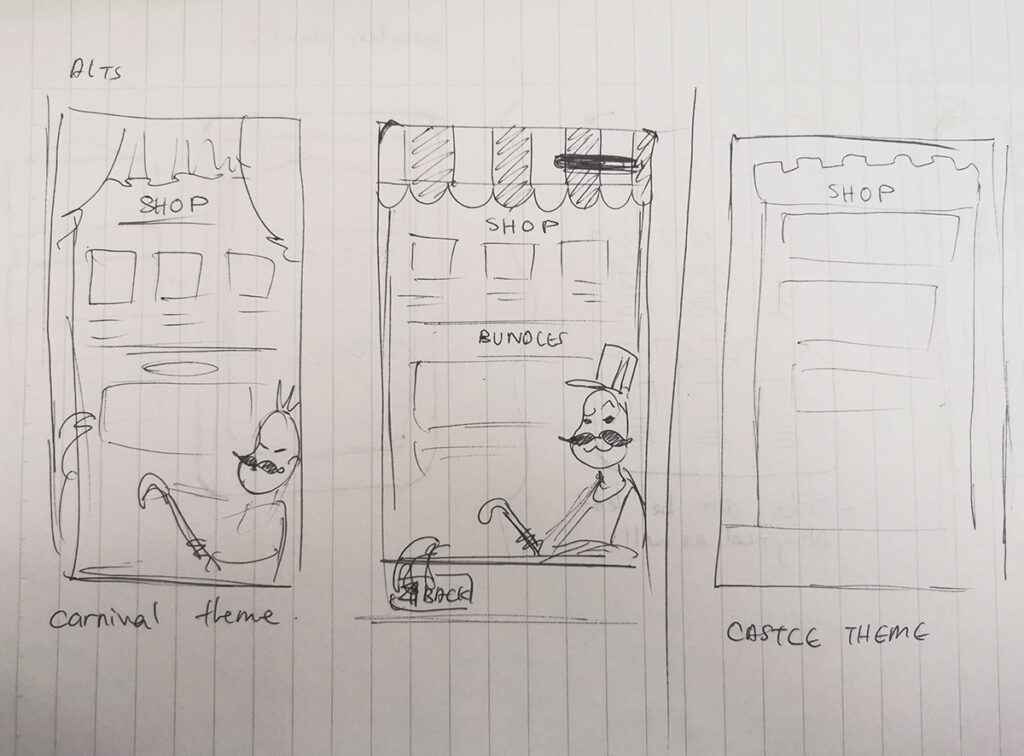
We decided to go with simpler designs, with some decoration in the title sections of each interface. After picking out some themes to work with, I continued to make more refined sketches in Photoshop! You can check out a past blog on the tools we use here. The below image shows three different ideas for the long-scroll format of the shop: Wave wall, sunny tent, and hanging boards. The shop awning is a small/very vague reference to a sea-monkey ad, and we decided to go with it!


Next, I had to go about style explorations for buttons within the shop. My aim was to figure out a set and style that would work across all screens and different use cases/contexts. My line of thinking was balancing ease of use and clarity of information, taking into consideration future updates that would result in special in-game events or deals. (If you’re interested in a brief tutorial on UI principles, check out this guide) In essence, I made lots and lots and lots of buttons…
With the basic style of the UI established, I continued to create sketches of the UI designs for other screens. I wanted to balance the needs of a mobile game with the retro look/elements from the sea-monkeys brand, and make the whole game look and feel the same across all screens.
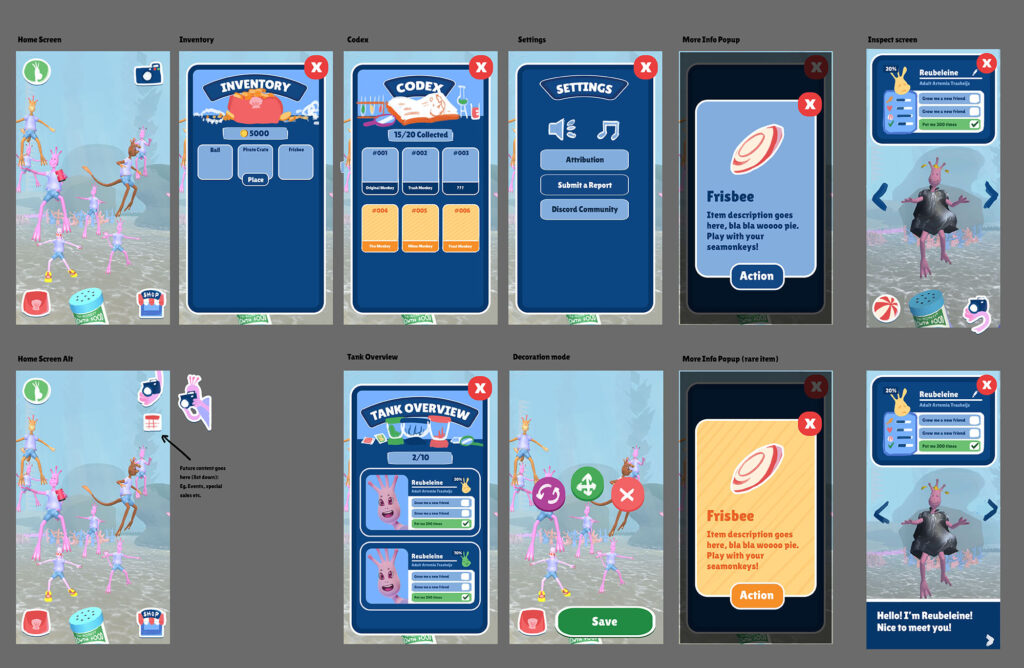
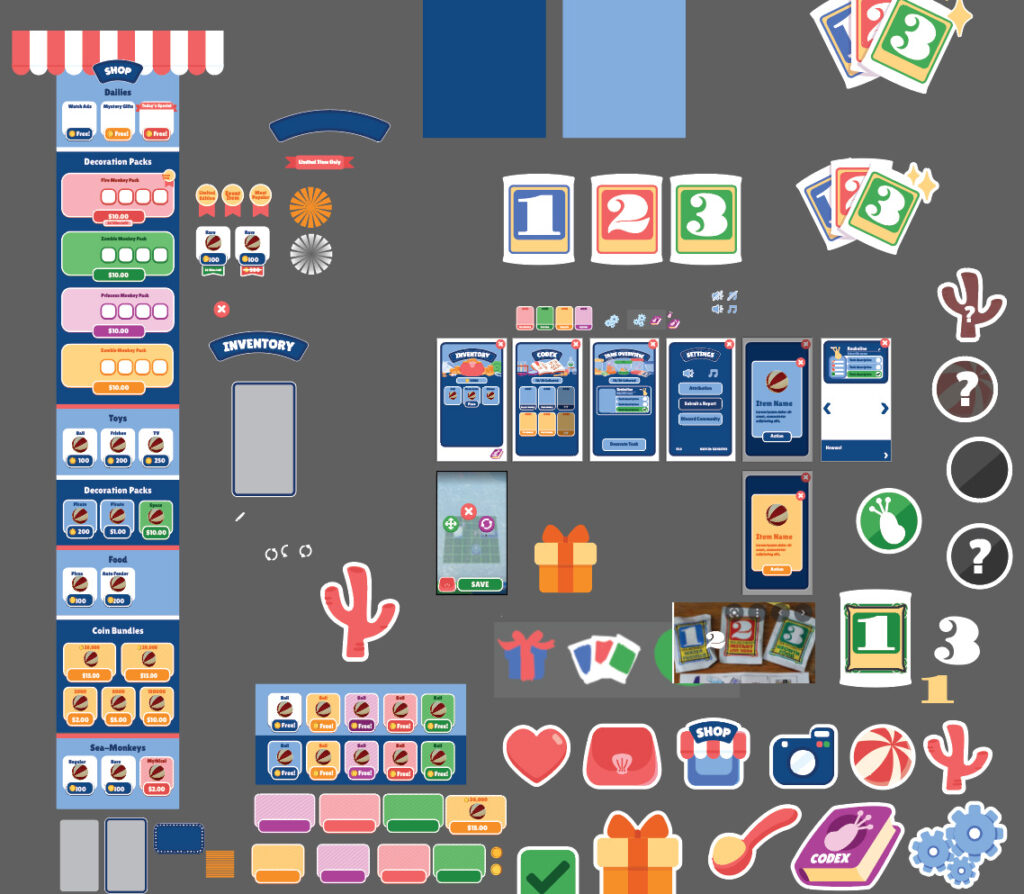
Step 3: Finalisation and export of UI assets
With everything planned out now, I went ahead to create these new buttons and interfaces in Adobe Illustrator! All the buttons, lightboxes and icons were made in Illustrator, heavily referencing the rough sketches I made in Photoshop.
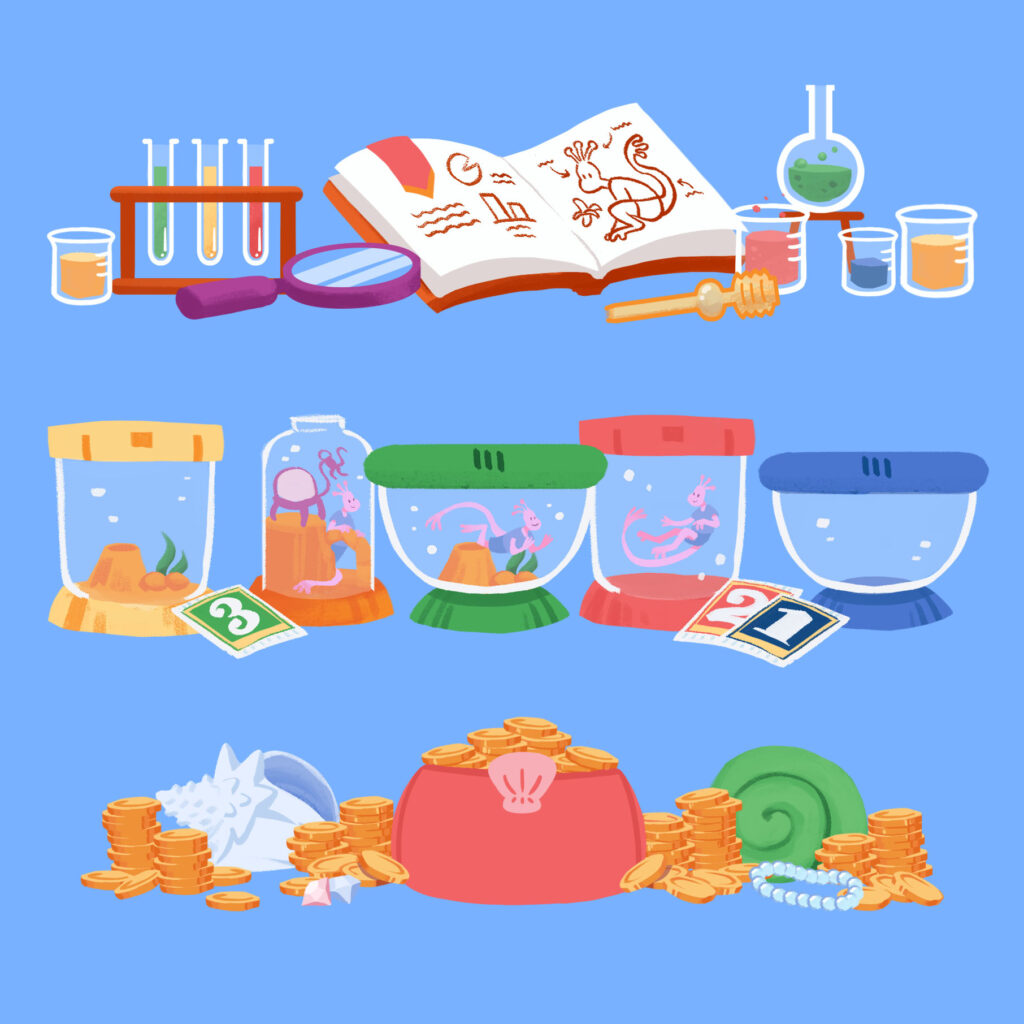
Some of the more decorative header artwork were hand painted however! For these, I kept the style relatively simple to fit the rest of the UI, with some light imperfections here and there to not look too “plastic”. All three illustrations were constrained by the same colour palette used to make the rest of the game’s UI, keeping the same look and feel as the other vector icons.
To conclude, UI design is all about balancing aesthetic and accessibility. I hope you’ve picked up something new from this peek into my (rather chaotic) process of redesigning Sea-Monkeys: Zen Aquarium®!
We hope this guide has helped! Have a question or want to chat more about game development? Reach out to us!
Other places you can find us:
- Our other game development resources
- Join our Discord server
- Sign up to our newsletter